7.XLSX.3 Preparing to Print
Noreen Brown; Barbara Lave; Hallie Puncochar; Julie Romey; Mary Schatz; Art Schneider; Diane Shingledecker; and Jennifer Evans
Learning Objectives
- Adjust page settings for printing.
- Add footer information for user integrity.
- Preview a worksheet, adjust settings to print in a professional manner.
- Insert a 3D Model to enhance the visual appearance of a worksheet.
Previewing a Worksheet
Although printing large data sets is uncommon, it is an industry curiosity to set up Excel workbooks to print correctly, and to also add documentation as to when data was revised. Follow the below steps to prepare the worksheets to print.
1. Click on the AdvancedFilter worksheet. At the bottom of the screen choose the Page Layout option.

2. At the bottom of the page, click into the left section, of the Add Footer panel.

3. From the Header and Footer Design tab, choose to insert the Current Date field.

4. Click in the right panel section, insert the File Name field.

5. Click back into the spreadsheet to close the Header and Footer section, and choose the Normal page layout.
6. From the File tab, select Print. Change the Orientation to Landscape. In the Scaling section, choose Fit Sheet on One Page.
![]() Mac Users: click the “Scale to Fit” option
Mac Users: click the “Scale to Fit” option
7. Save your work. You don’t have to actually print this sheet. Go back to your worksheet.
Follow the below steps to add a footer to indicate when the last update was made and apply settings to the EmployeeData worksheet to ensure it will print correctly if needed.
1. Click the EmployeeData worksheet. At the bottom of the screen choose the Page Layout option. You may get a message telling you that Page Layout and Freeze Panes are not compatible. You should click OK to remove the Freeze Panes setting.
2. At the bottom of the page, click into the left section, of the Add Footer panel type Revision Date: add a space, then click the Current Date button from the Ribbon. Example: Revision Date: 1/01/2020.
3. Click in the center panel, add the page number field.
4. Click in the right panel section, type Revised by: then type Your Name. Example: Revised by: Jane Doe
5. Click back into the spreadsheet to close the Header and Footer section, and choose the Normal page layout.
6. From the File tab, select Print. Change the Margins to Narrow. In the Scaling section, choose Fit All Columns on One Page.
![]() Mac Users: set the “Scale to Fit” option to 1 page wide by 2 pages tall.
Mac Users: set the “Scale to Fit” option to 1 page wide by 2 pages tall. ![]()
7. Save your work. Again, you do not have to print this sheet. Go back to the worksheet.

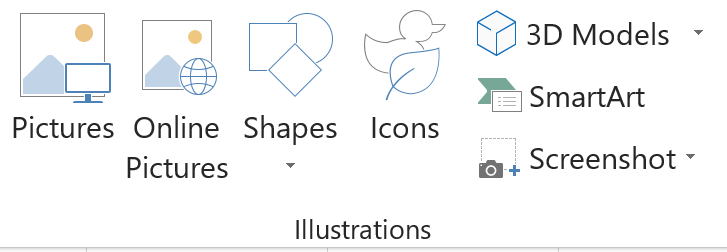
Insert a 3D Model to the worksheet to enhance its appearance. In Excel, you can either insert Pictures, Shapes, Icons, SmartArt, Screenshots or 3D Models.

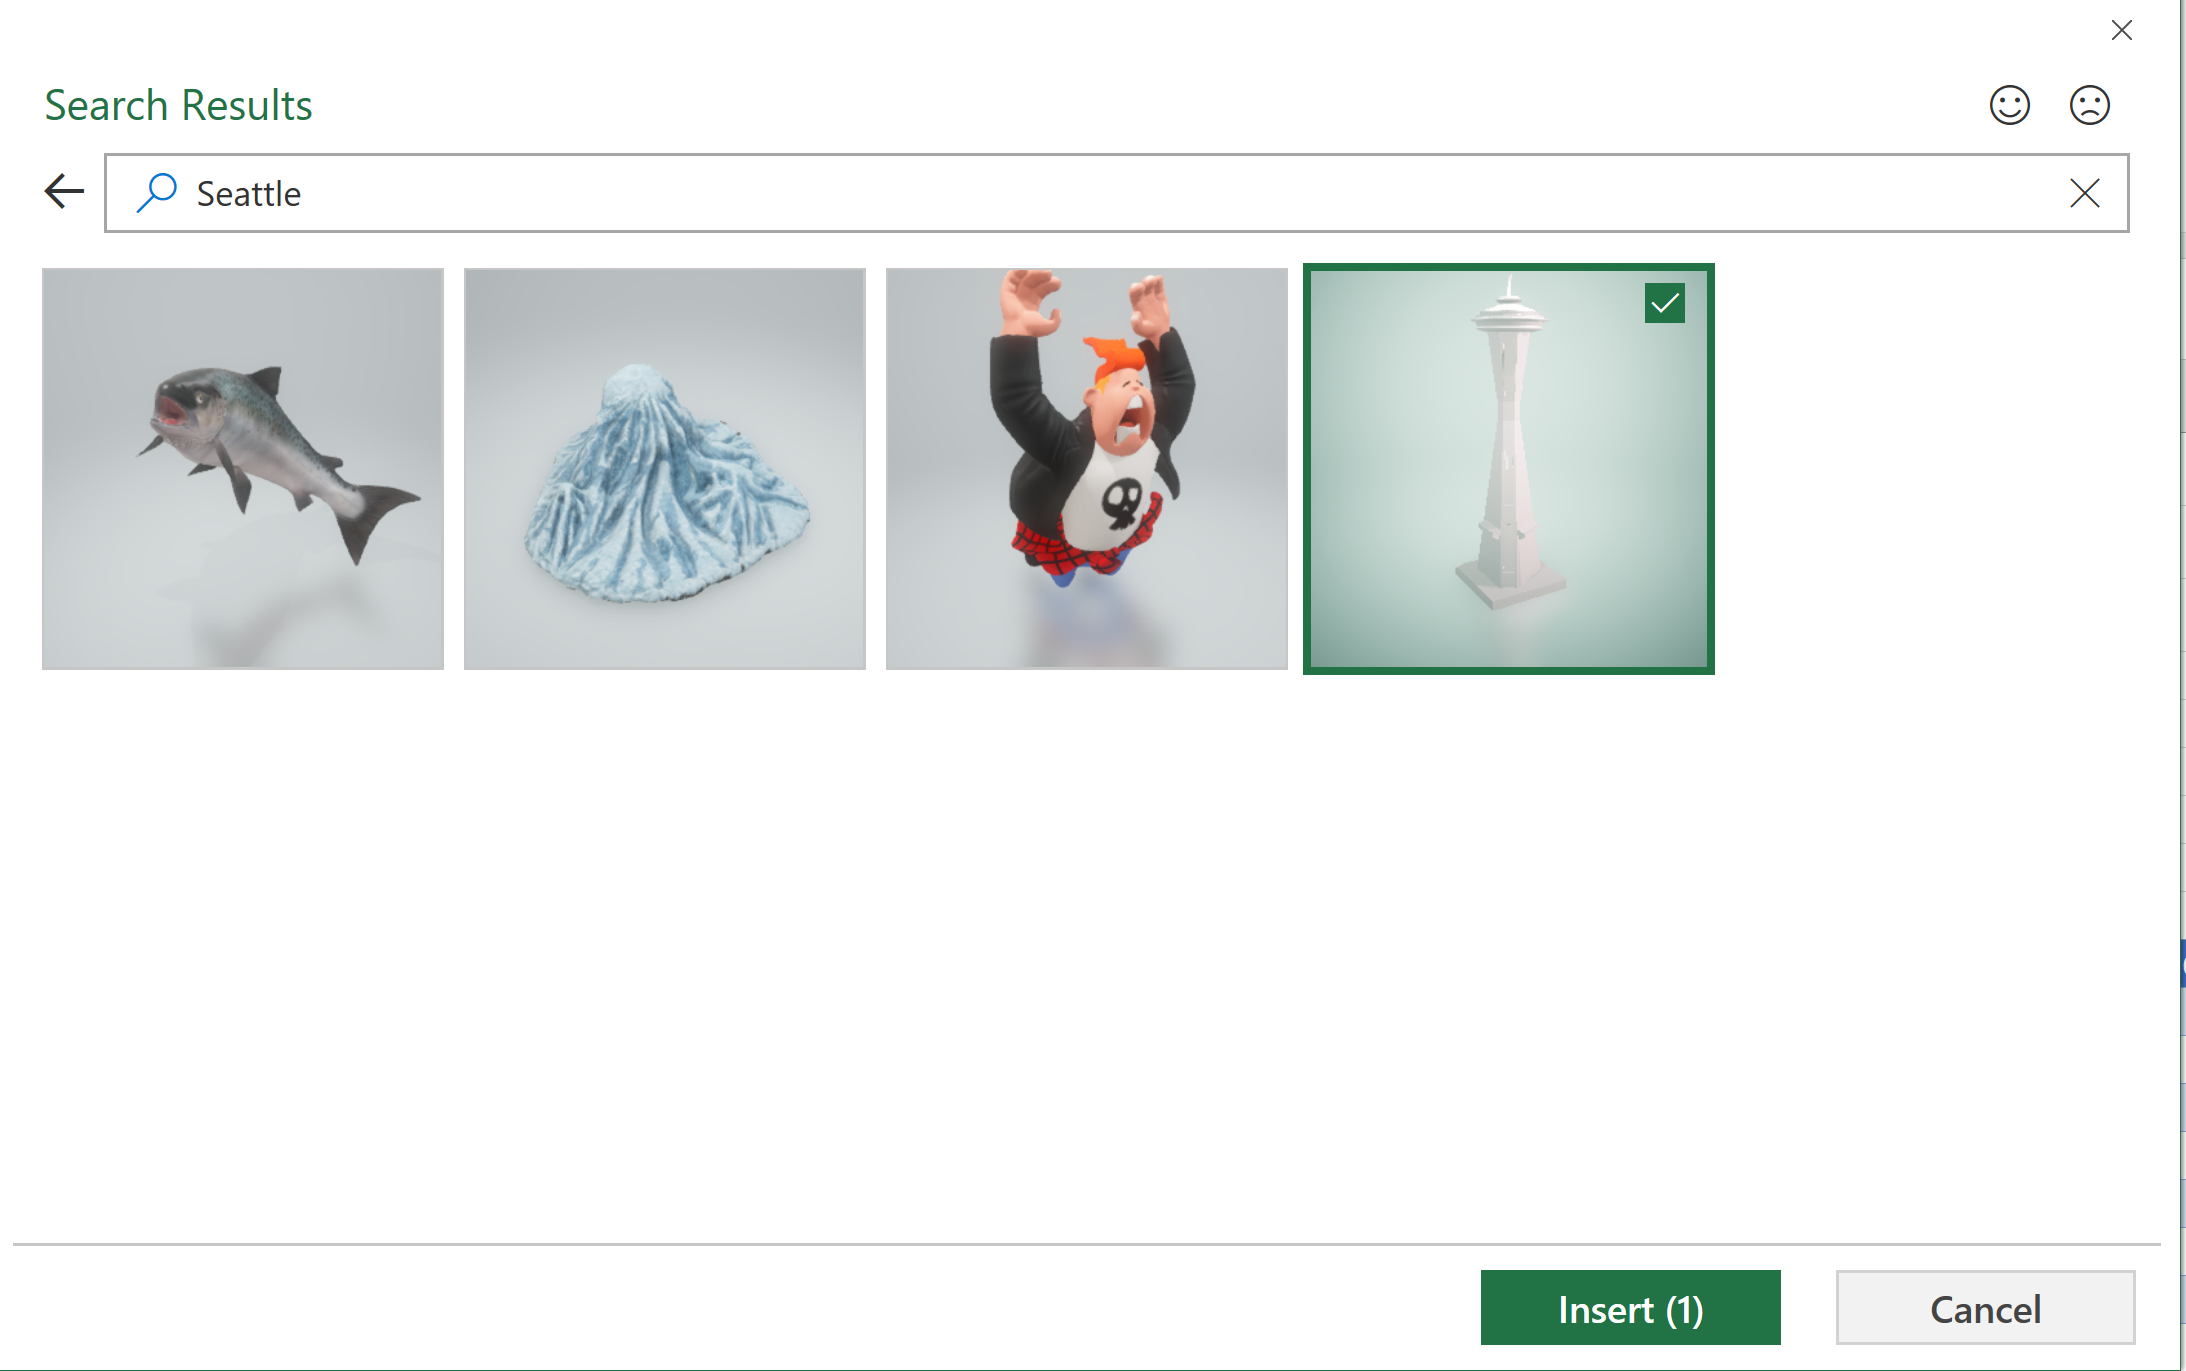
In this example, we will insert (from online) a 3D Model that looks like the Seattle Space Needle.
1. Click the Advanced Filter sheet tab, then click the Insert tab on the ribbon.
2. Click 3D Models button from the Illustrations group. (If necessary choose From Online Sources or Stock 3D Models.) 
![]() Mac Users: click the 3D Model icon button and then choose “Stock 3D Models…“.
Mac Users: click the 3D Model icon button and then choose “Stock 3D Models…“. 
3. In the Search box type Tower, and hit Enter from the keyboard.
4. From the results window, choose a model that looks like the Space Needle. And click Insert. Again, if the Space Needle is not available in the gallery, click the Back arrow and find an alternate building or tower from the 3D Model “Buildings” category.

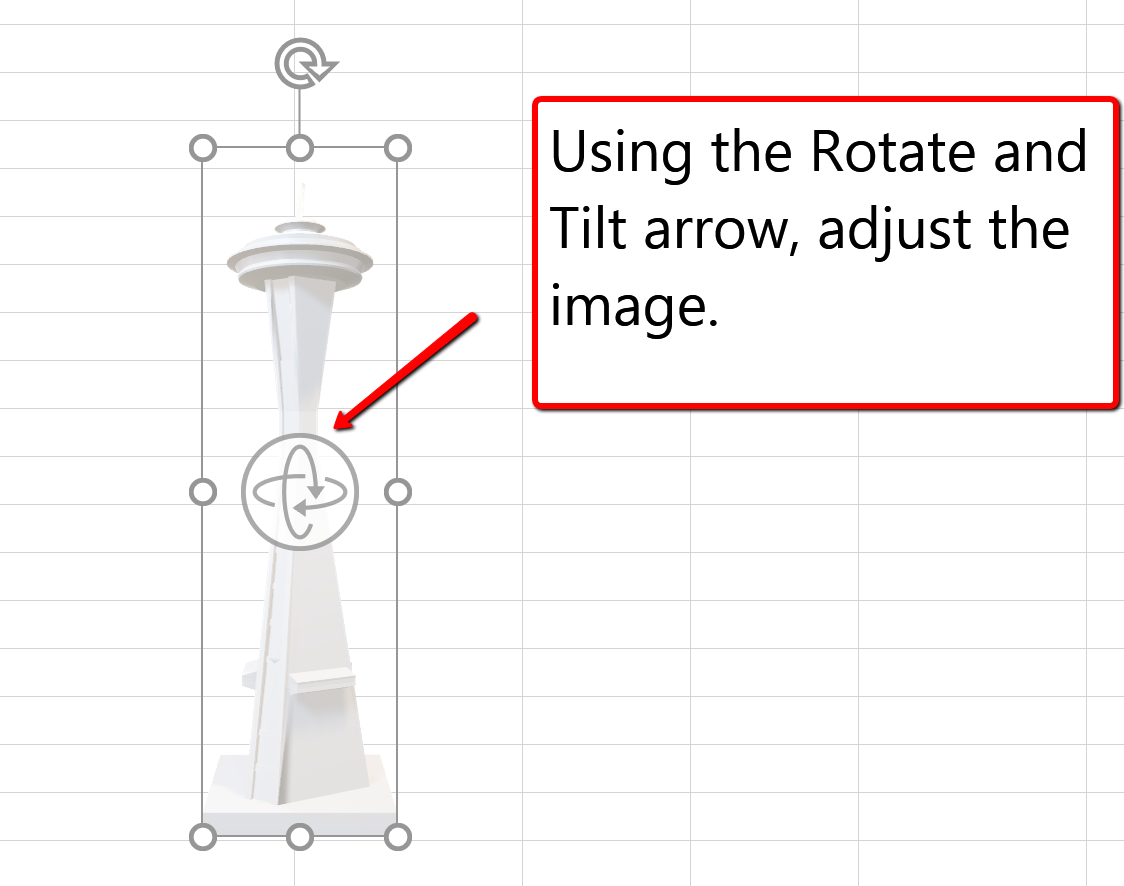
5. Notice the model can be manipulated 360 degrees tilted up and down to show a specific feature of the object. Adjust based on your preference.

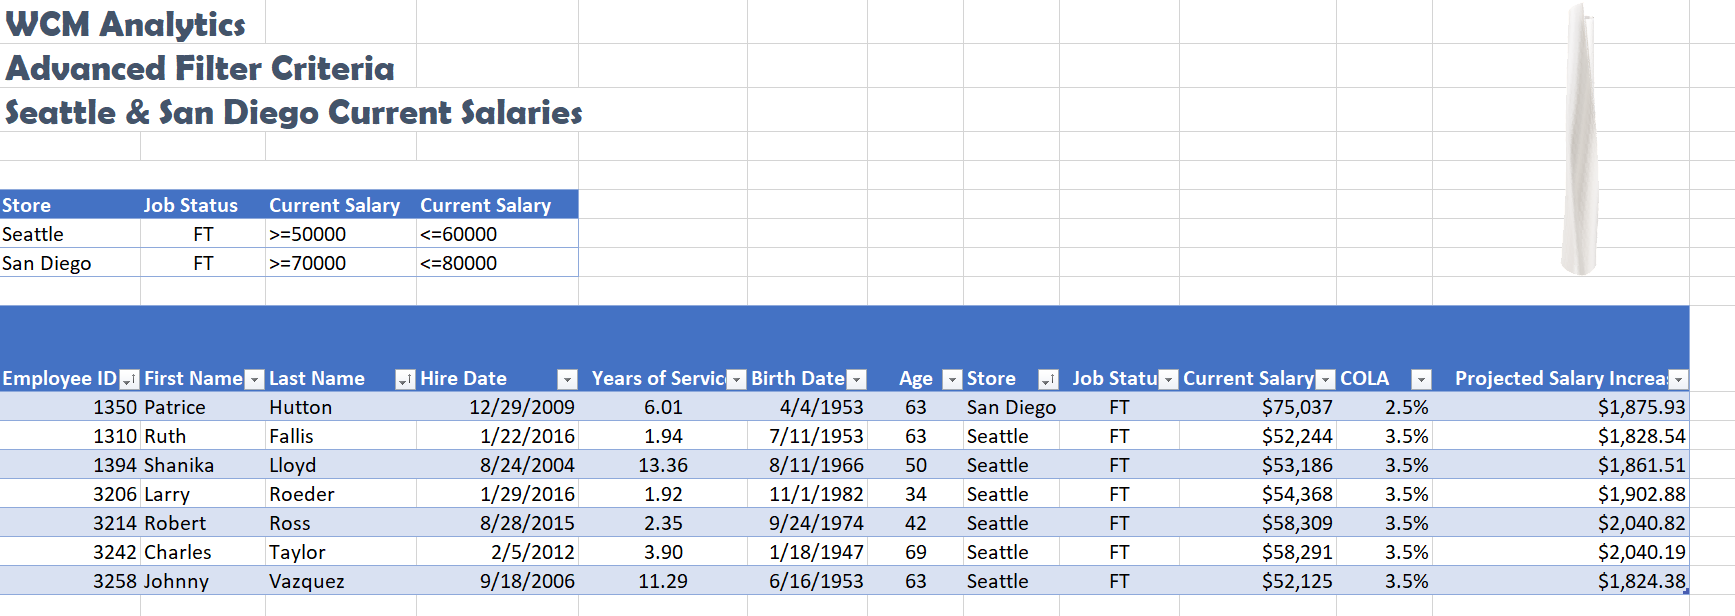
6. Place, and resize the image to the upper left-hand corner of the sheet, above the last column of data. Make sure it does not overlap on the table.
7. Check the spelling on all of the worksheets and make any necessary changes. Save your work. Submit CH5 HR Report as directed by your instructor.

Key Takeaways
- When working with Excel workbooks, the final step should always be to review the worksheets in Print Preview to make sure they are printing appropriately.
- You can add images you have saved, or images you find online, to a worksheet to enhance its appearance. Be sure to resize and move them appropriately so they do not detract from the data.
Attribution
“5.3 Preparing to Print” by Hallie Puncochar, Portland Community College is licensed under CC BY 4.0

