7 Building a VR Project
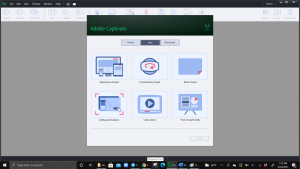
Creating a VR project begins much like creating a Responsive Project. In Captivate, select Create New>Virtual Reality Project> Create. Alternately, if you have another project already open, you can follow File>New Project>Virtual Reality Project.
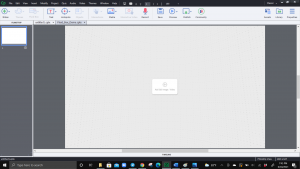
When designing VR projects, every slide will be based around a 360° image or video. This is different from the base slides in a Responsive Project which use fluid boxes.
To add a 360° image or video, select Add 360° image/video in the center of the screen. Add the desired file from your local drive. Once the video or image has been added, you can pan around the image much like a viewer will do in the browser or VR headset.
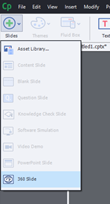
Slides can be added using the large green plus sign on the upper left corner. Note that the only type of slide available in a VR project will be the 360 Slide. Slides will be set up as Guided or Exploratory using the checkboxes on the right-hand side of the screen under the Properties window. Slides can be re-reordered by dragging them up and down in the left hand filmstrip where icons of each slide are visible.
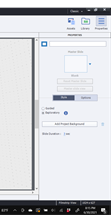
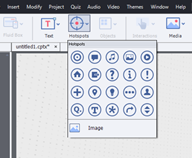
It is important that all images, slides, and hotspots be labeled using the header in the Properties window. After adding a slide, hotspots can be layered in just like in a Responsive Project. To add a hotpot, select the Hotspots dropdown in the upper left of the toolbar. When hovering your mouse over each icon, the icon name will explain the intended use. Select the desired icon. Hotspots might include navigation to the next slide, audio clips, video, 2D images, navigation to the home slide, exiting the module, and many other important action prompts.
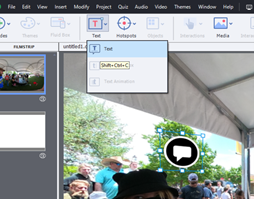
Drag the icon to the desired location in your image. Use the Text feature from the tool bar to add important labels or directions near hotspots. Typically speaking, the less text used, the better.
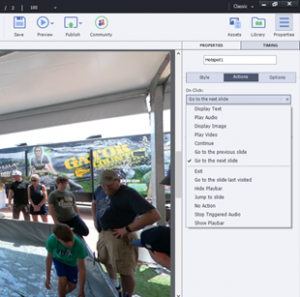
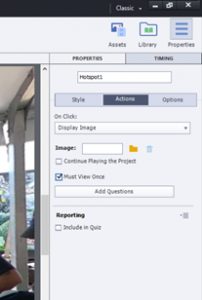
After adding the Hotspot and any label needed, use the Actions dropdown found under the Properties section on the right side of your design window. Note that in VR projects, only one action can be associated with anyone Hotspot. When designing a VR project, you can decide what items must be opened/viewed before the viewer can progress through the slides, or leave the hotspots open for exploration at the viewer’s discretion. After assigning the action, you will add any appropriate files for audio/video/etc. and define whether this hotspot is optional or required before the viewer moves through the module. Quiz questions can also be added at this time.
Additionally, slide and project audio can be used either through the Record tool, which is the red microphone in the center of the top tool bar, or by using the Media>Audio to add an existing file.
